
The Samurai Battles hit the table third weekend in a row – of course, alongside with other titles. That should tell you enough how much I appreciate that newest installment to C&C series. Today I will focus on another multi-scenario, mini-campaign session reports (after Arita Castle 1517 AD & Okehazama 1560 AD) – Koriyama Castle 1540 AD. But pretty soon you can count on my First Impression article. I am pondering also an essay comparing this game to its closest C&C titles: Ancients and Medieval. A lot of plans which I hope to realize soon!
Samurai Battles Session reports:
Arita Castle 1517 AD - 2 scenarios
Okehazama 1560 AD - 2 scenarios
The Game
Again, should you not met yet this title let me provide some more information about it. Above I am placing the components presentation, below couple of words of description for this position.
The Commands & Colors: Samurai Battles game allow players to portray important engagements of Japanese history mainly regarding the XVI century. The battles, included in the thick scenario booklet, focus on the historical deployment of forces and important terrain features in level with the game system. The scale of the game is flexible and varies from battle to battle. For some scenarios, an infantry unit may represent an entire clan of soldiers, while in other scenarios a unit may represent just a few brave warriors.
The game follows the well-proven mechanics of Commands (cards driving the moves and creating Fog of War) and Colors (the units designation, having huge impact on battle results). The dices allows us to quickly resolve all battles and the components in the box allow for creation of countless scenarios. In essence, Richard Borg at his best!
And now let us move to reports!
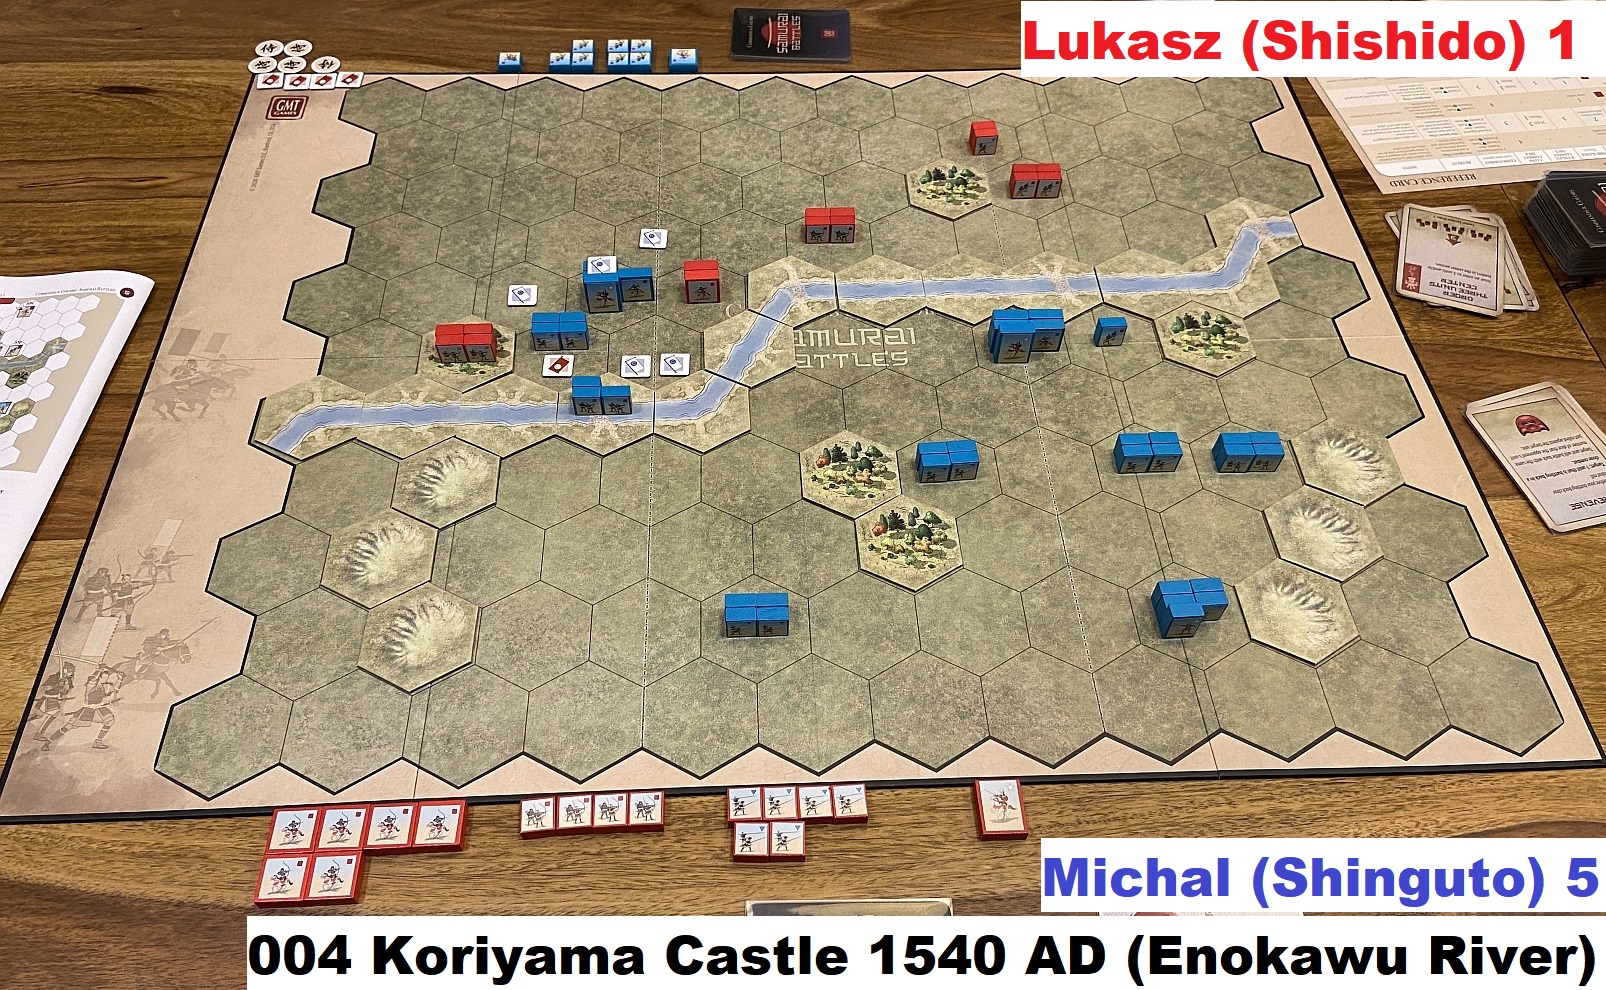
1. Koriyama Castle 1540 AD (Enokawu River)
Historical Background
Early in 1540, Akihisa, leader of the Amako, proposed a full-scale invasion against the Mori. Before attacking the capital city of Mori, as an advance force, he sent the troops of Amako Kunihisa, of the Shinguto clan, via the Bingo pass, to take the castle of Mori loyalists, the Shishido. Kunihisa moved quickly into Yoshida, but when his troops reached the River Enokawu, it was so bravely defended by the Shishido, that he was forced to give up and he returned to Izumo.
Session Report
I have planned my second meeting with Lukasz and session with Samurai Battles as a another group of the the linked, chronological and logically connected scenarios. The decisions has fallen on Koriyama Castle – which seemed a pretty straightforward set of battles. I was to play the more difficult side of invaders (blue blocks, Amako mainly) while Lukasz will be of charge for defenders (red block, Mori mainly)
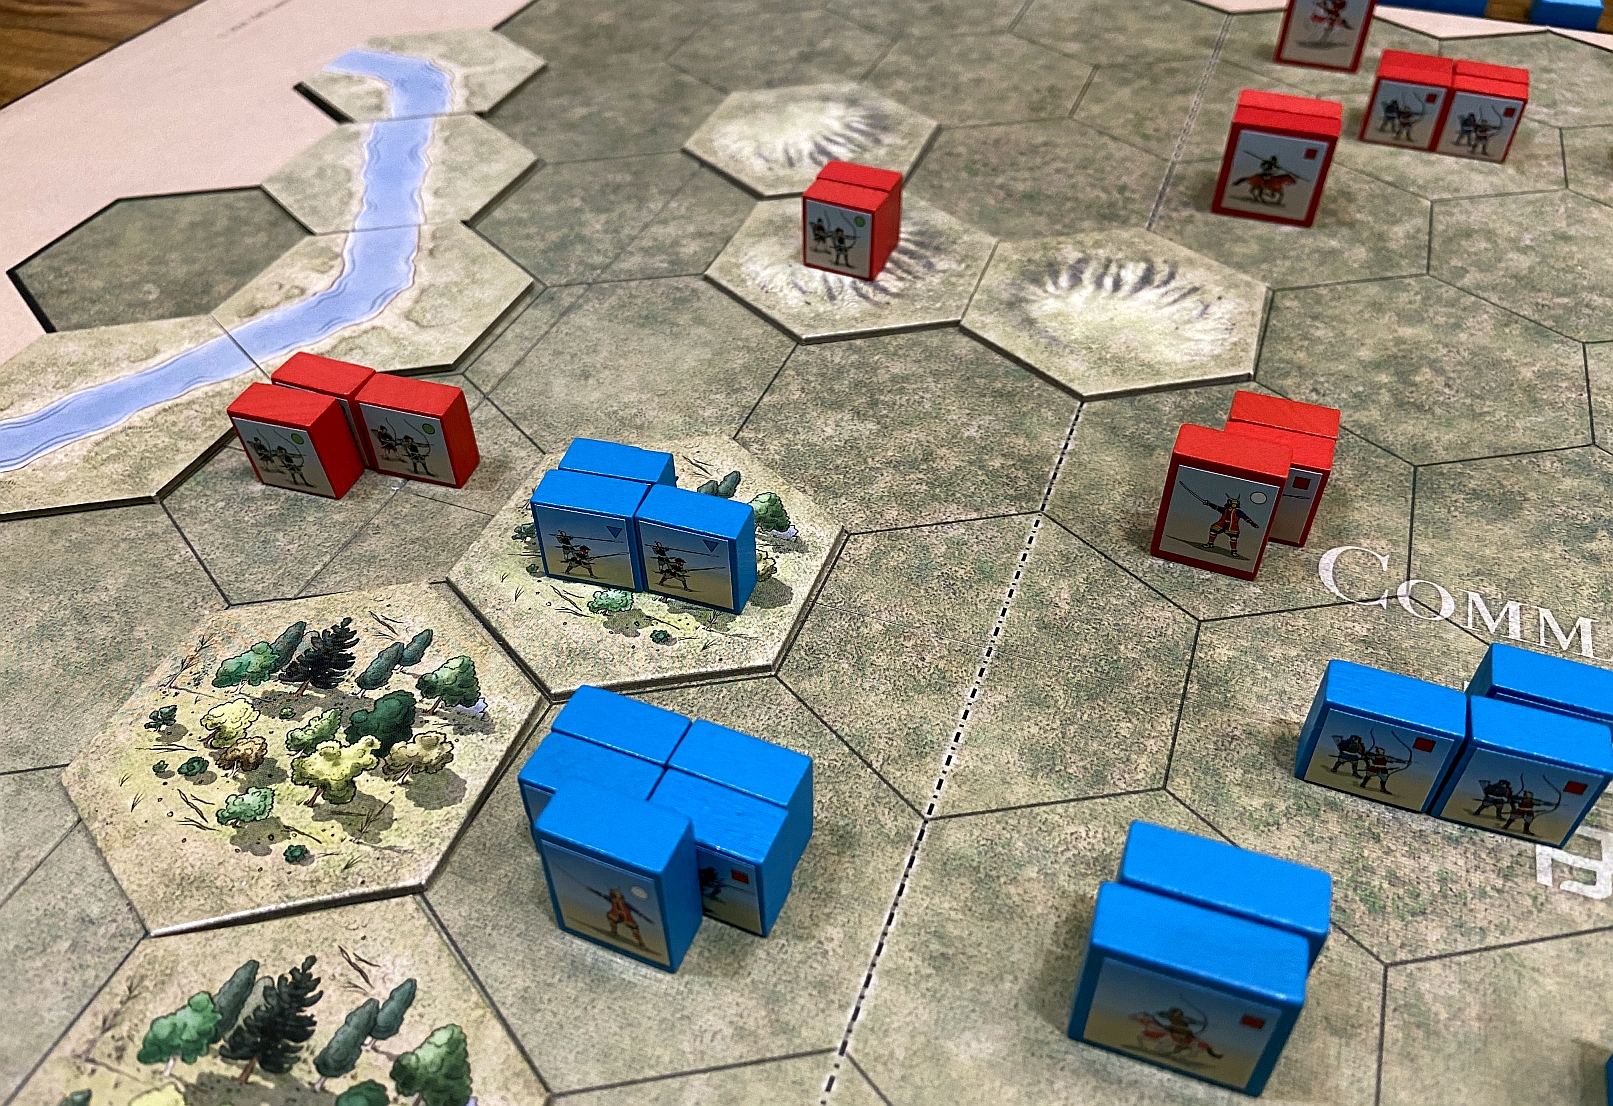
We started from Enokawu River – my attacking forces will be trying to cross the stream and score VP for each unit which survives there till start of the its turn. Lukasz will lead a desperate defense.


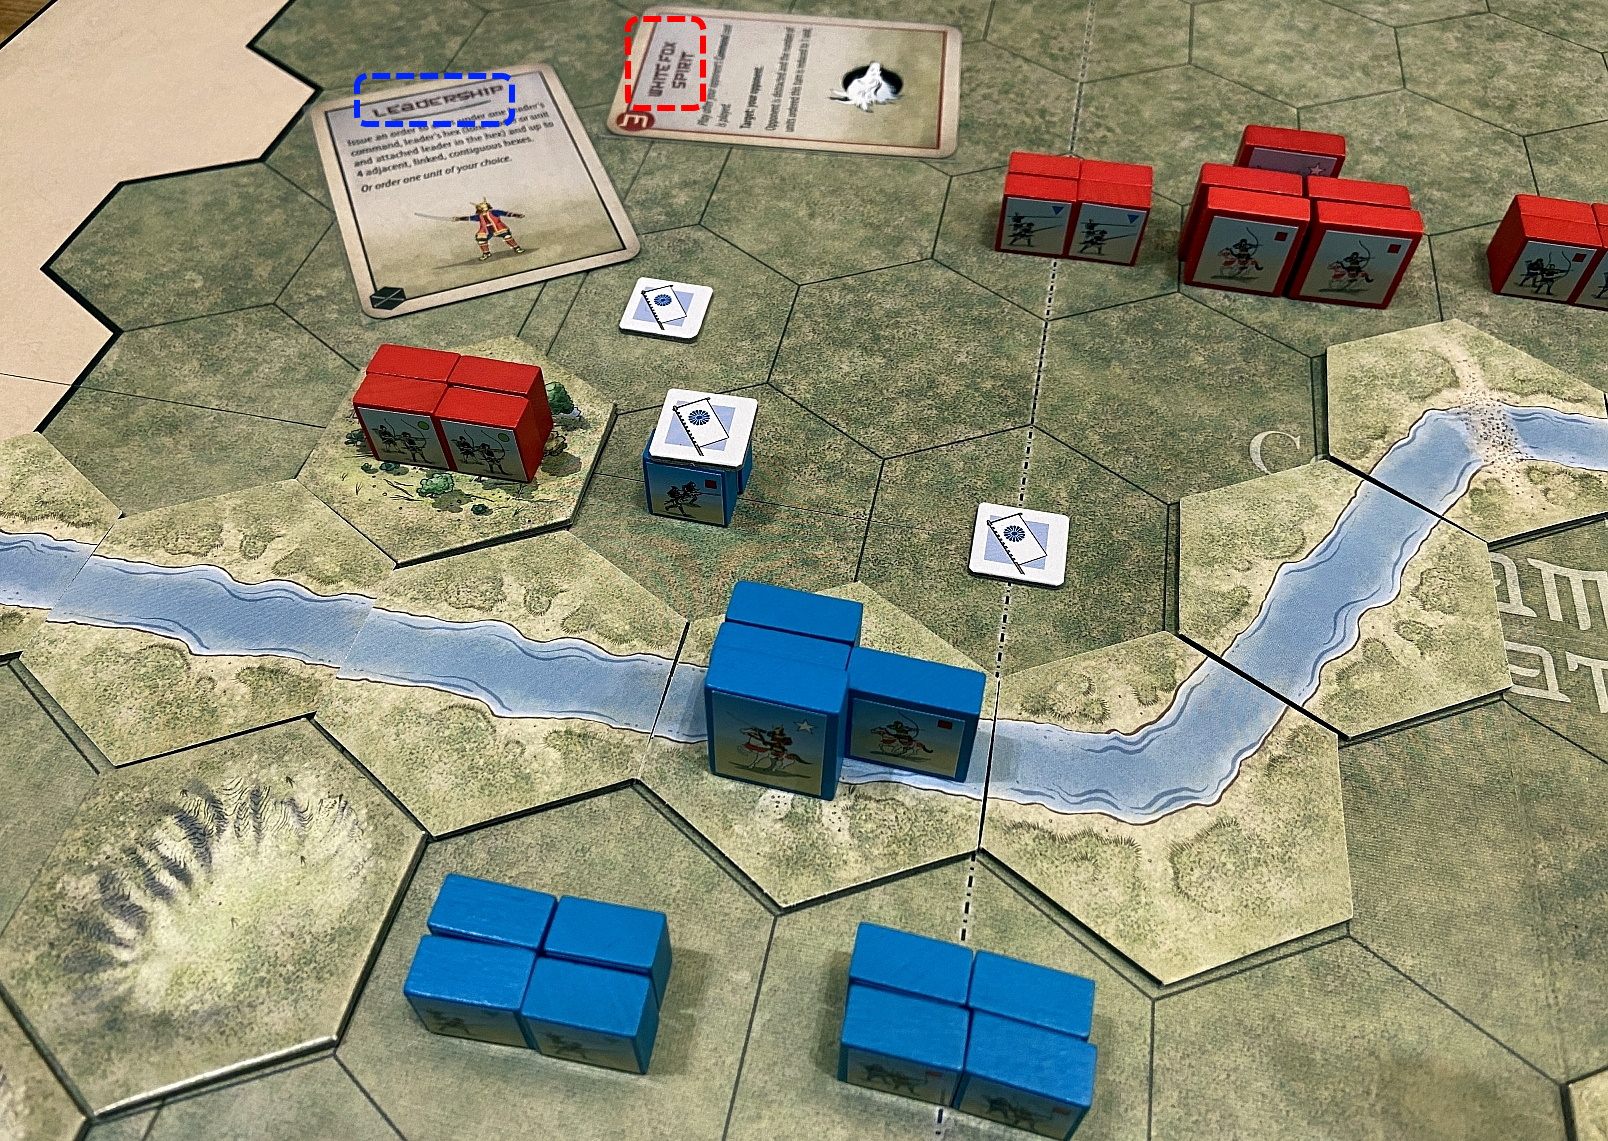
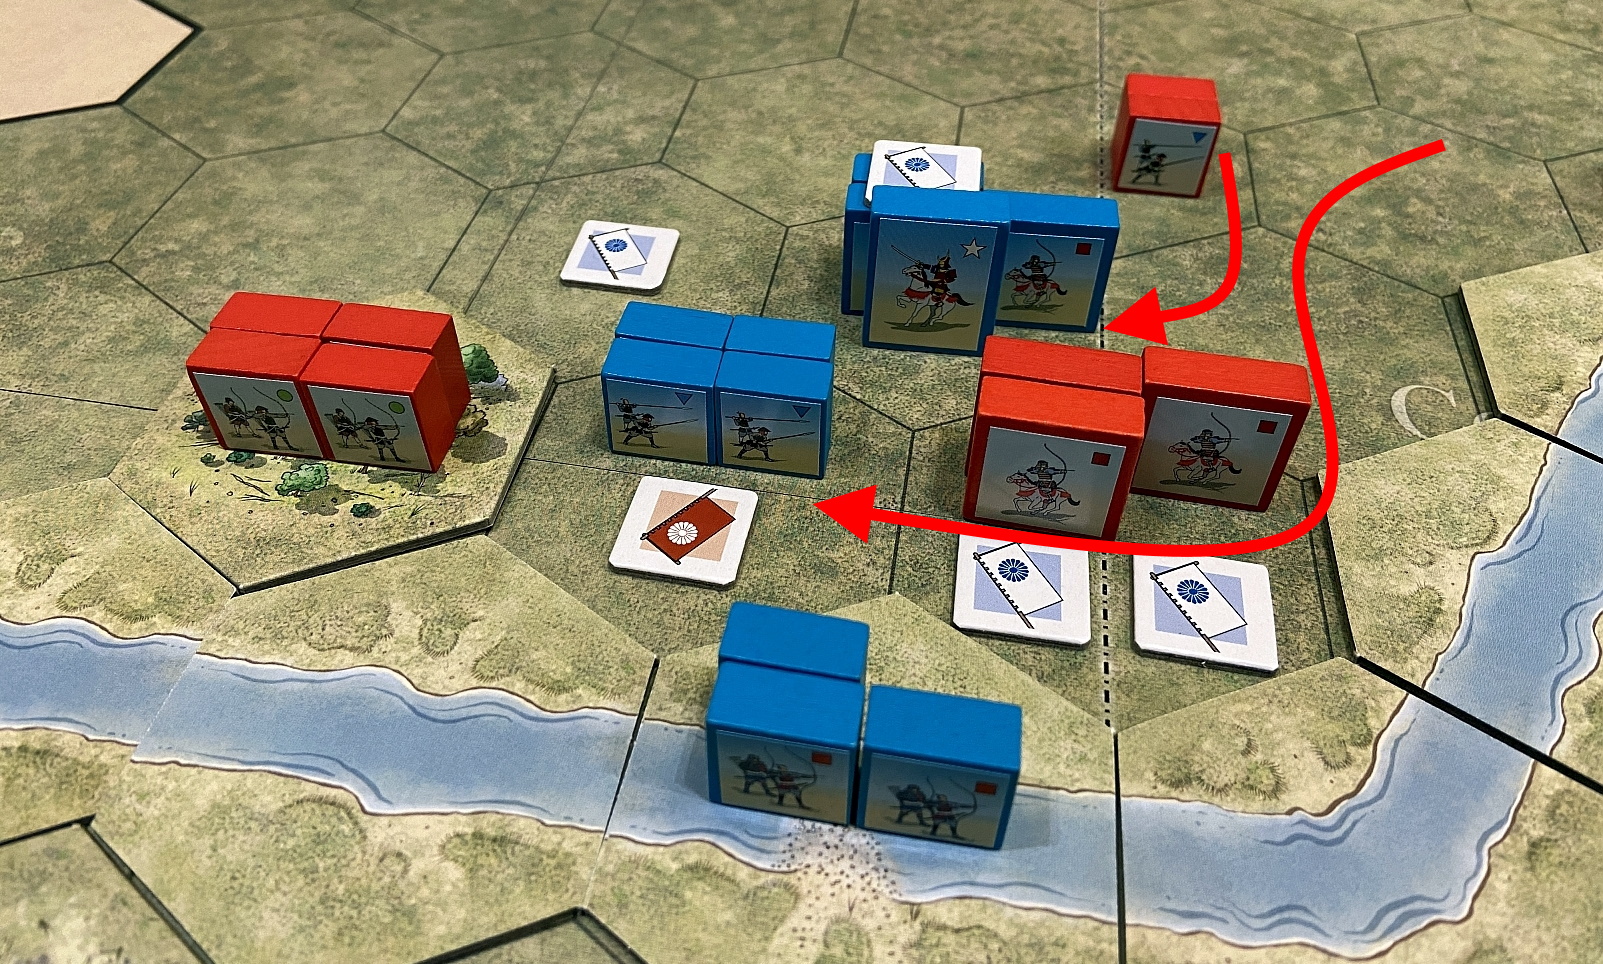
That was supposed to be a valiant and successful defense but ended in calamity for Lukasz. I had good cards, good rolls and nothing could stop the invaders.
2. Koriyama Castle 1540 AD (September)
Historical Background
In early September, Motonari sent a small group of Ashigaru across the Tajii to provoke the Amako into attacking. When the Amako troops came out to drive them back, the Ashigaru fled back across the river to the safety of the castle. The Mori force that was waiting in Ambush, then took the Amako soldiers by surprise in their flank. The Amako were immediately routed and fled back to their camp.
Session Report
The second part of Koriyama Castle is a story of a trap set-up by Mori against Amako. The special rules of Ashigaru Spearmen retreating behind Tajii river was a possible source of easy points for Lukasz. I was planning to not to allows for this to happen….


A historical result and tons of occasions to score VPs which I did not managed to exploit. Well, you do not always win, don’t you?
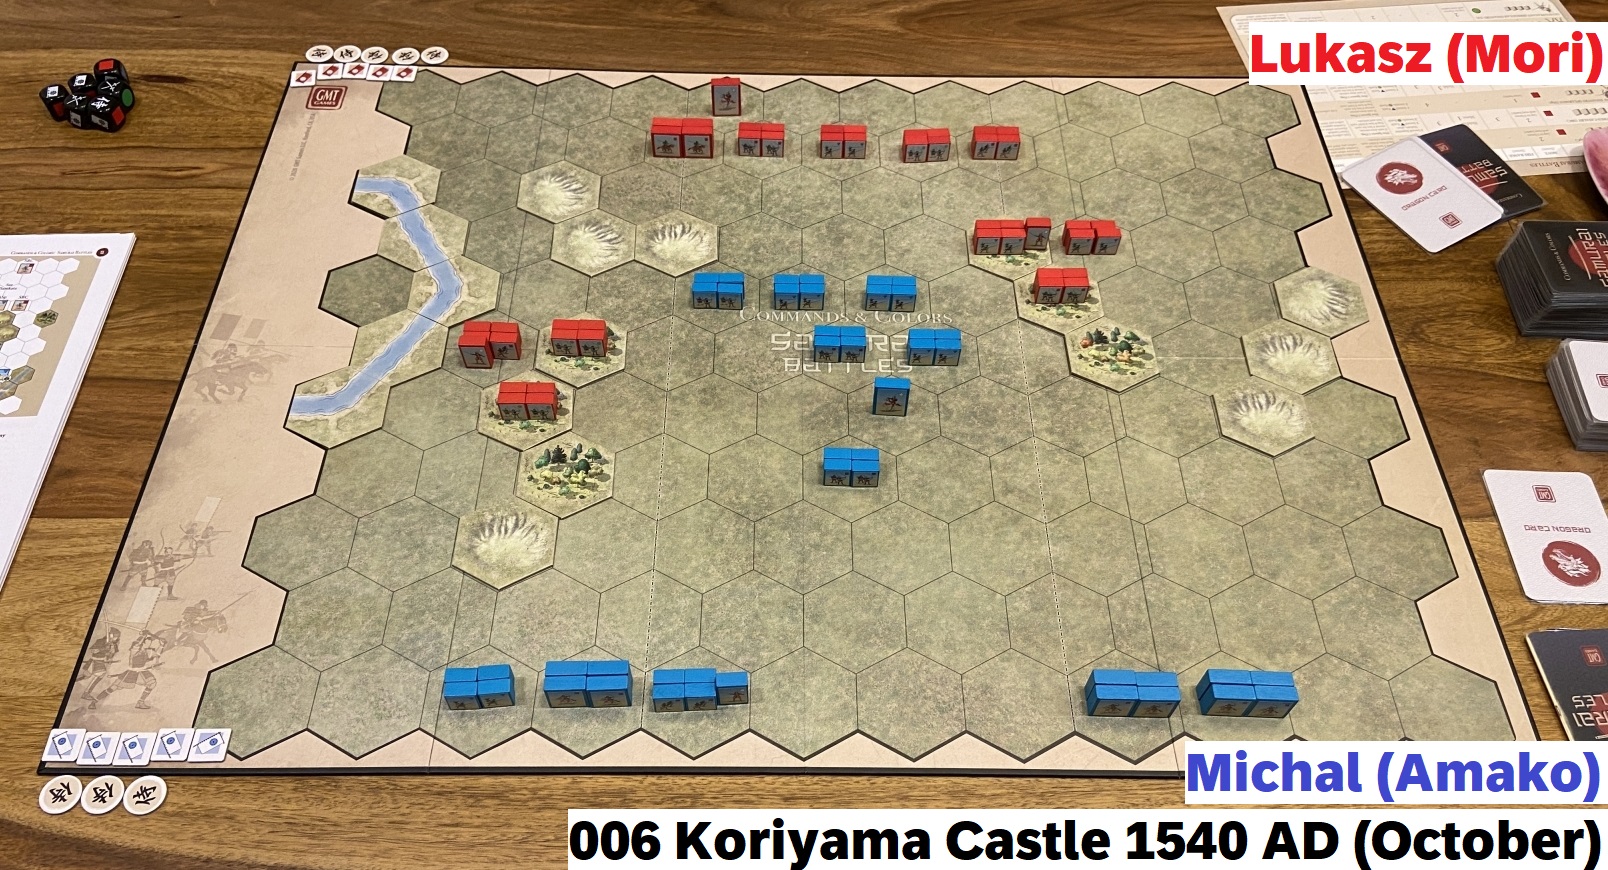
3. Koriyama Castle 1540 AD (October)
Historical Background
In October, although rebuffed on a number of occasions, Akihisa renewed the offensive, burning the remaining buildings outside the castle. Mori Motonari still believed he could prevail and decided to risk a general engagement, but before he marched out he sent a small force to each side of the valley to set-up an ambush. The Amako army under the command of Misawa Tameyuki, advanced straight at the Motonari. When the two armies met, the ambush force was given the signal and emerged from the hiding. The Amako army broke in panic.
Session Report
Another clever plan and another ambush from Mori against Amako forces. My advancing units were almost surrounded by enemy! Let us see how it went.
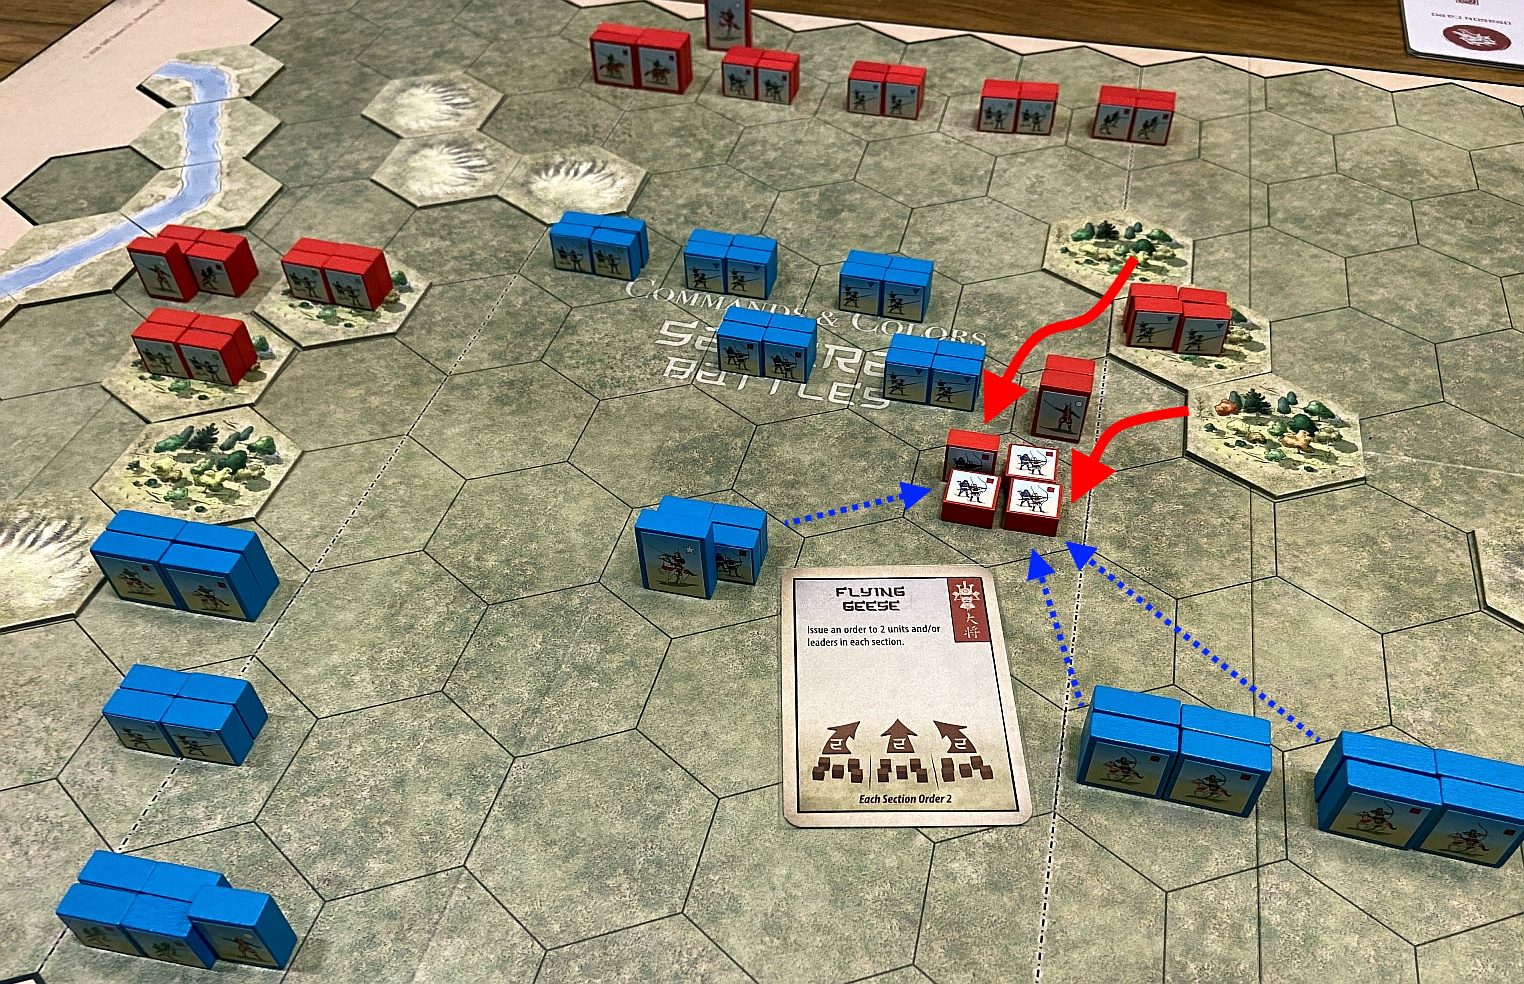

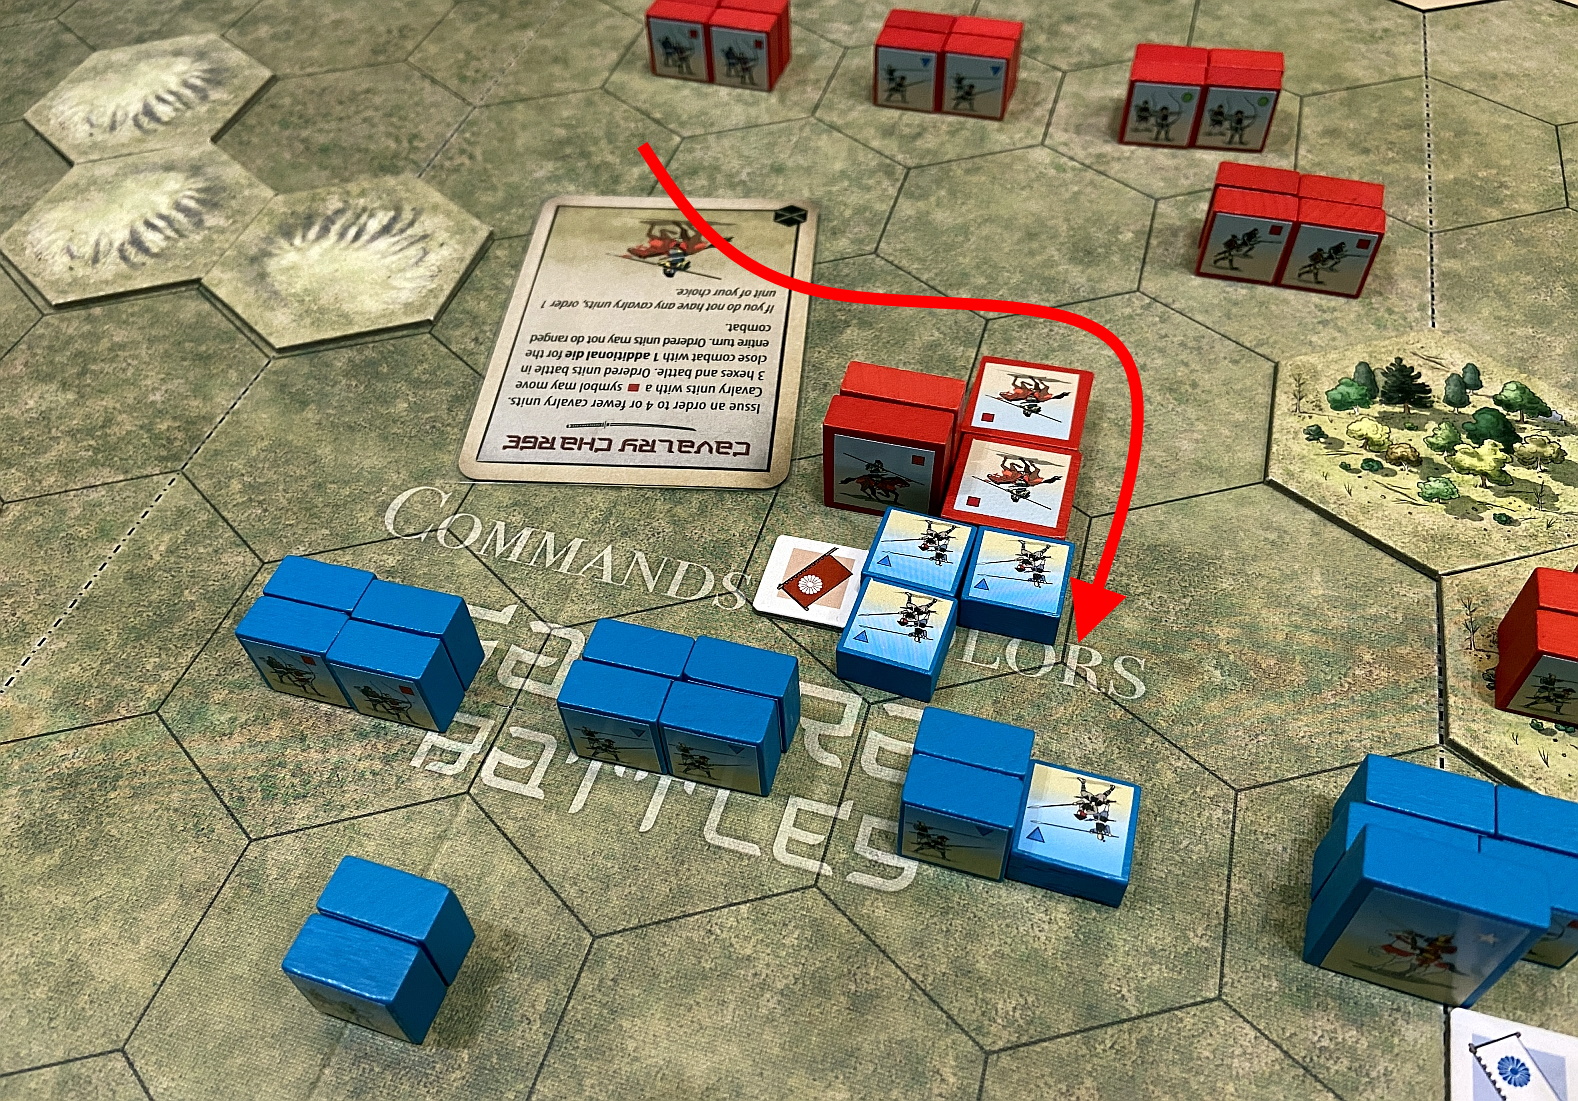
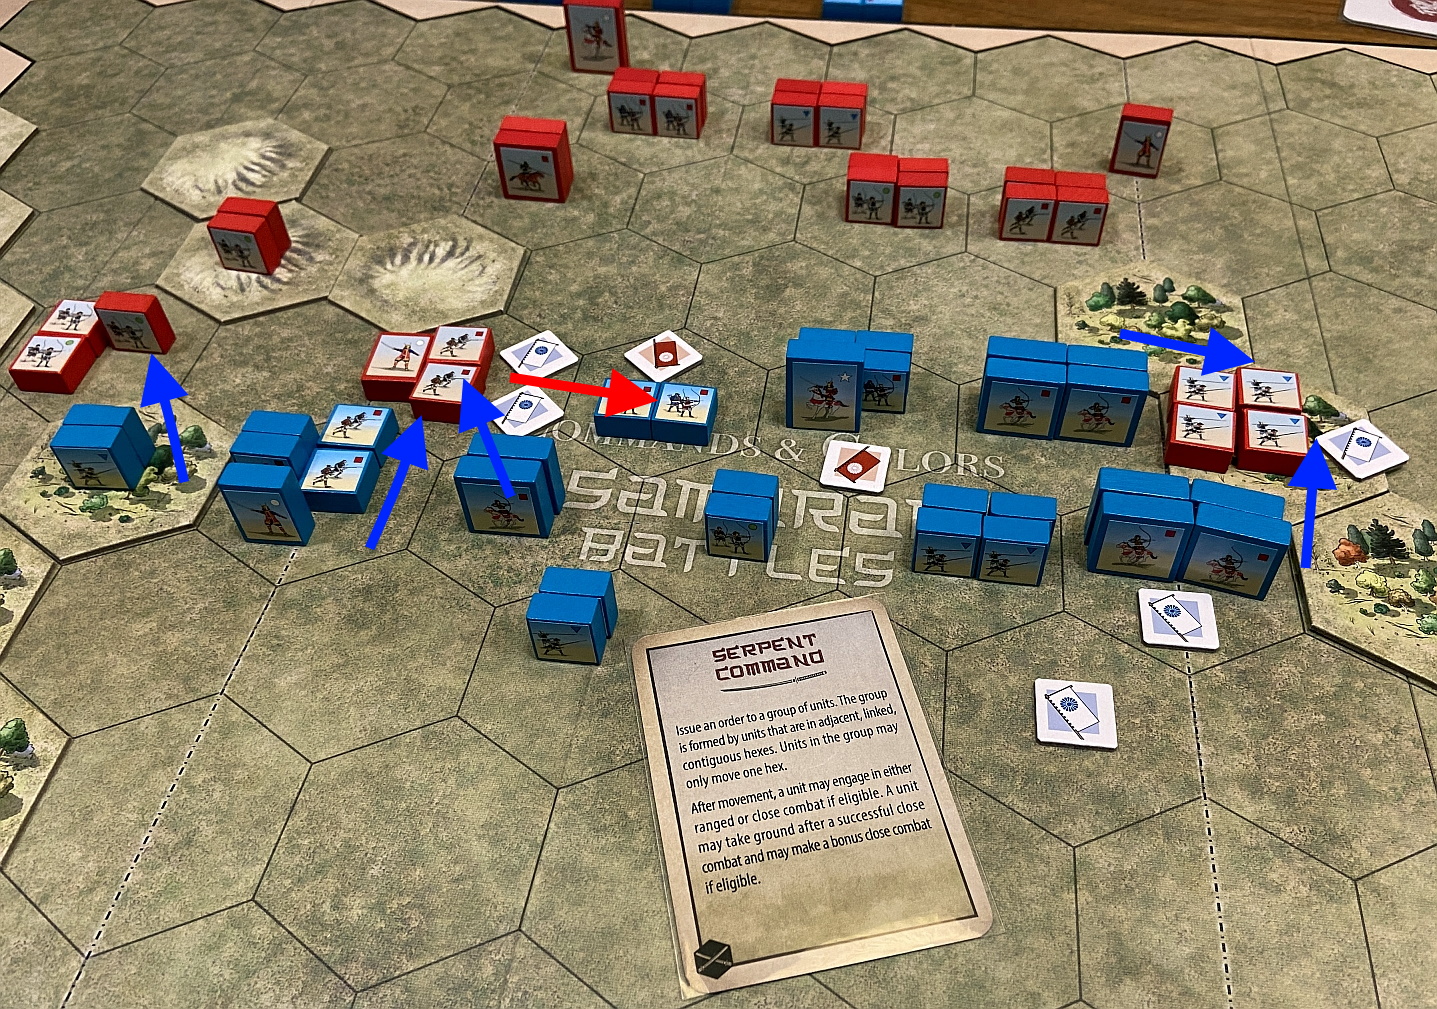
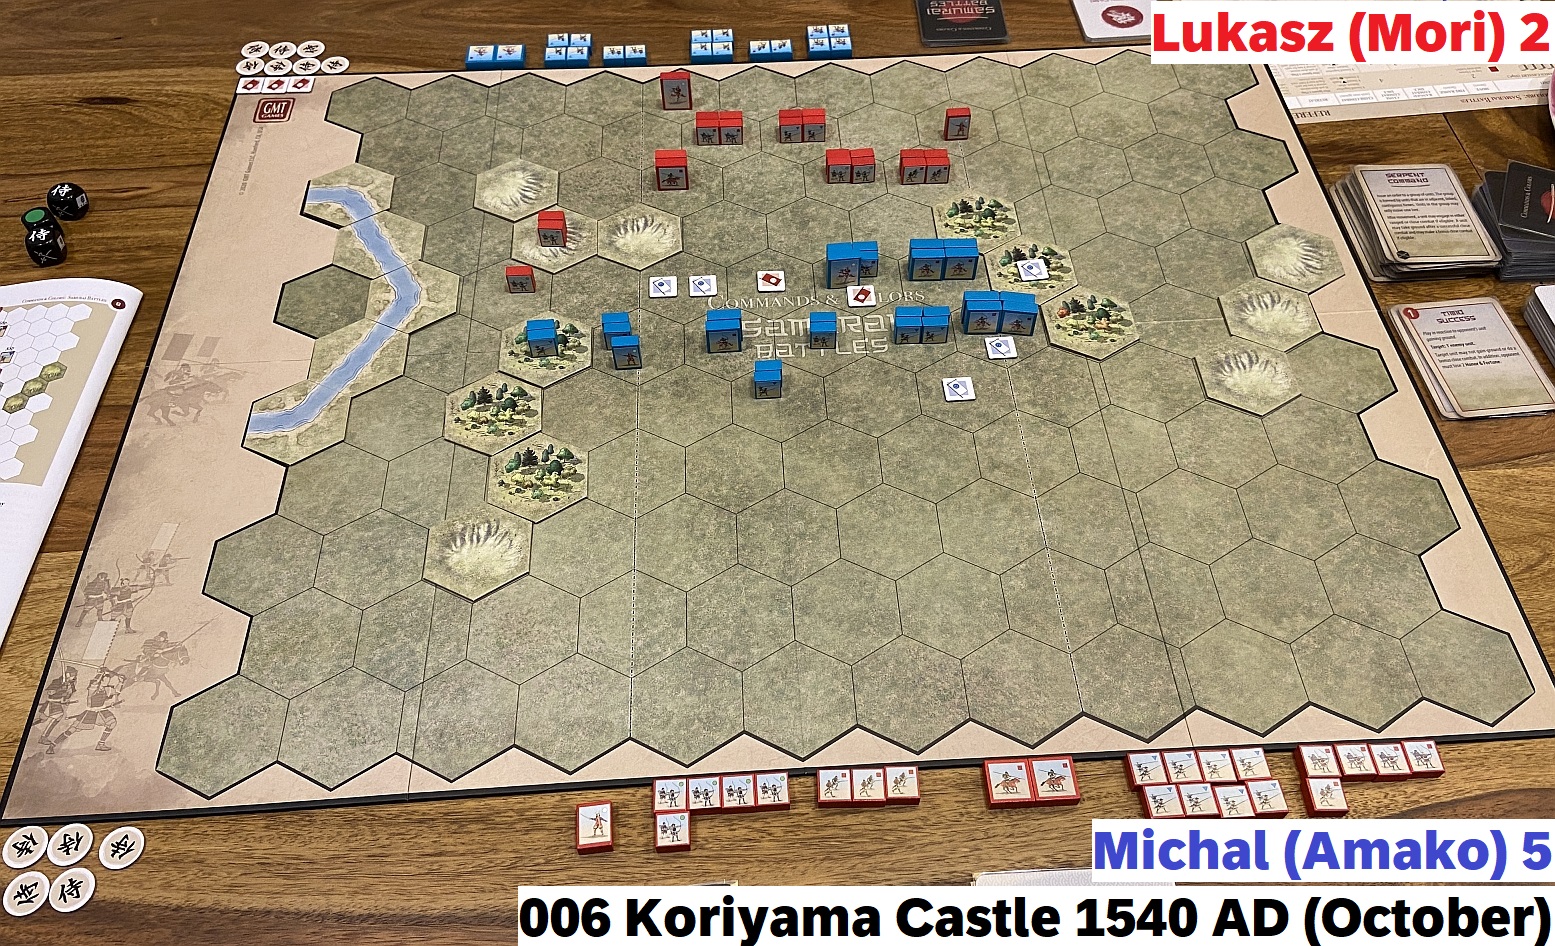
Lukasz had good plan, good cards for it and some tragic rolls. Once my main body of troops arrived I was able to tip the balance of the game decisively into my favor.
4. Koriyama Castle 1541 AD (January)
Historical Background
In late December, Sue Harukata arrived with the Ouchi relief force. Motonari decided to strike again and ordered Harukata to guard his rear with the Ouchi, while he moved to attack the Amako allied camp at Miyazaki Nagao. But Harukata had no intention of waiting to do battle and seeing that Akihisa’s main camp was inadequately defended, also attacked. Amago Hisayuki led a bold charge to check the Ouchi, but it did not slow their advance and the Akihisa’s camp was overrun. Losing both camps in the days fighting, Akihisa took council and after months of fighting choose to lift the siege.
Session Report
That was a huge battle, with great forces on both sides. It was really hard to say who will prevail at the first glance.
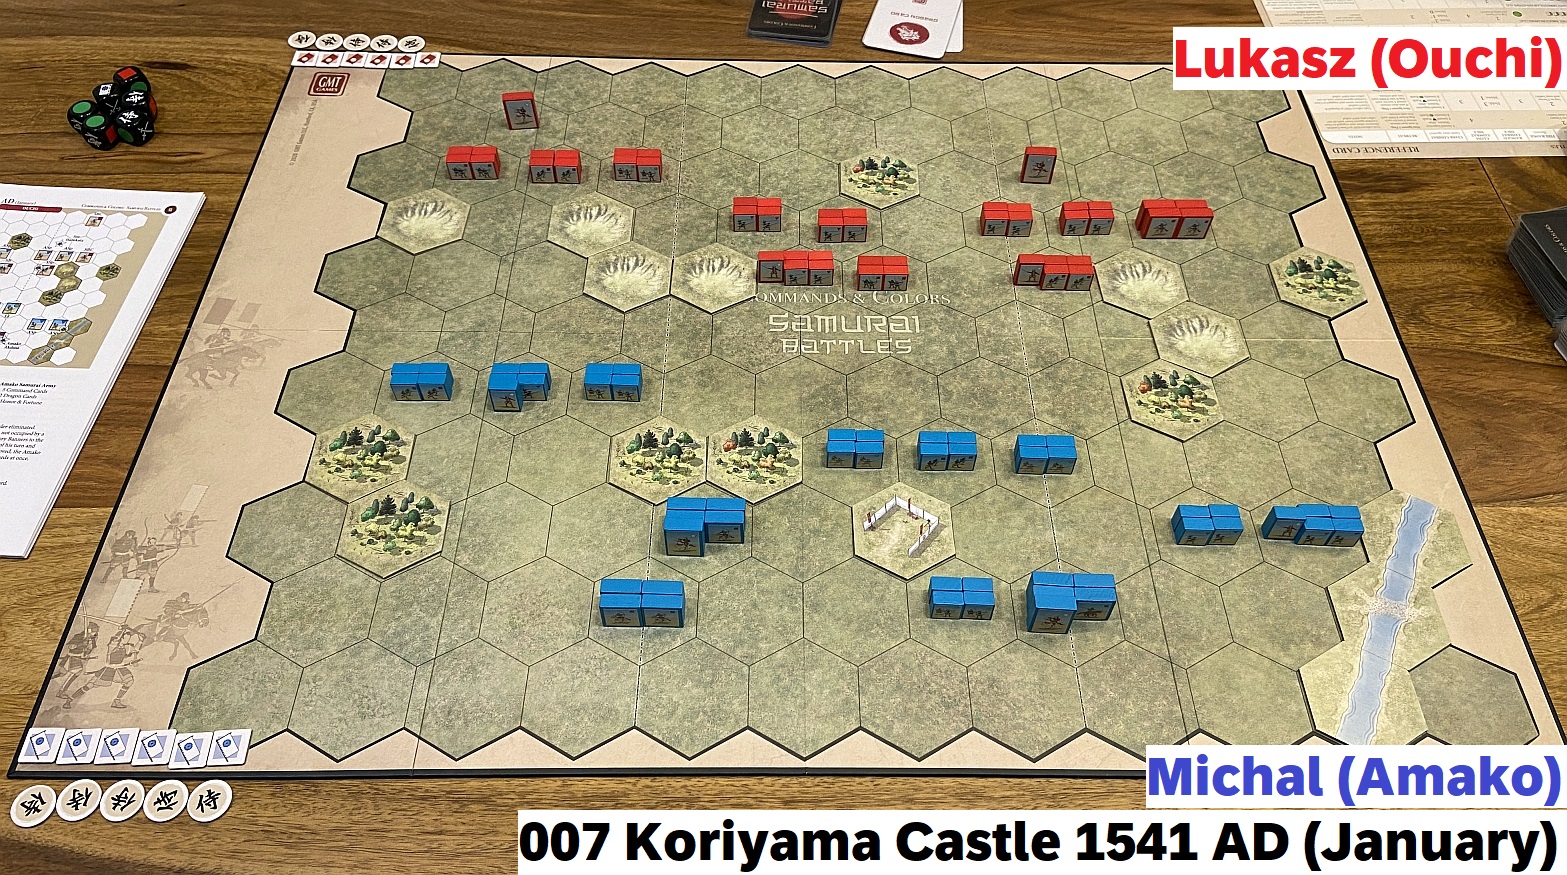
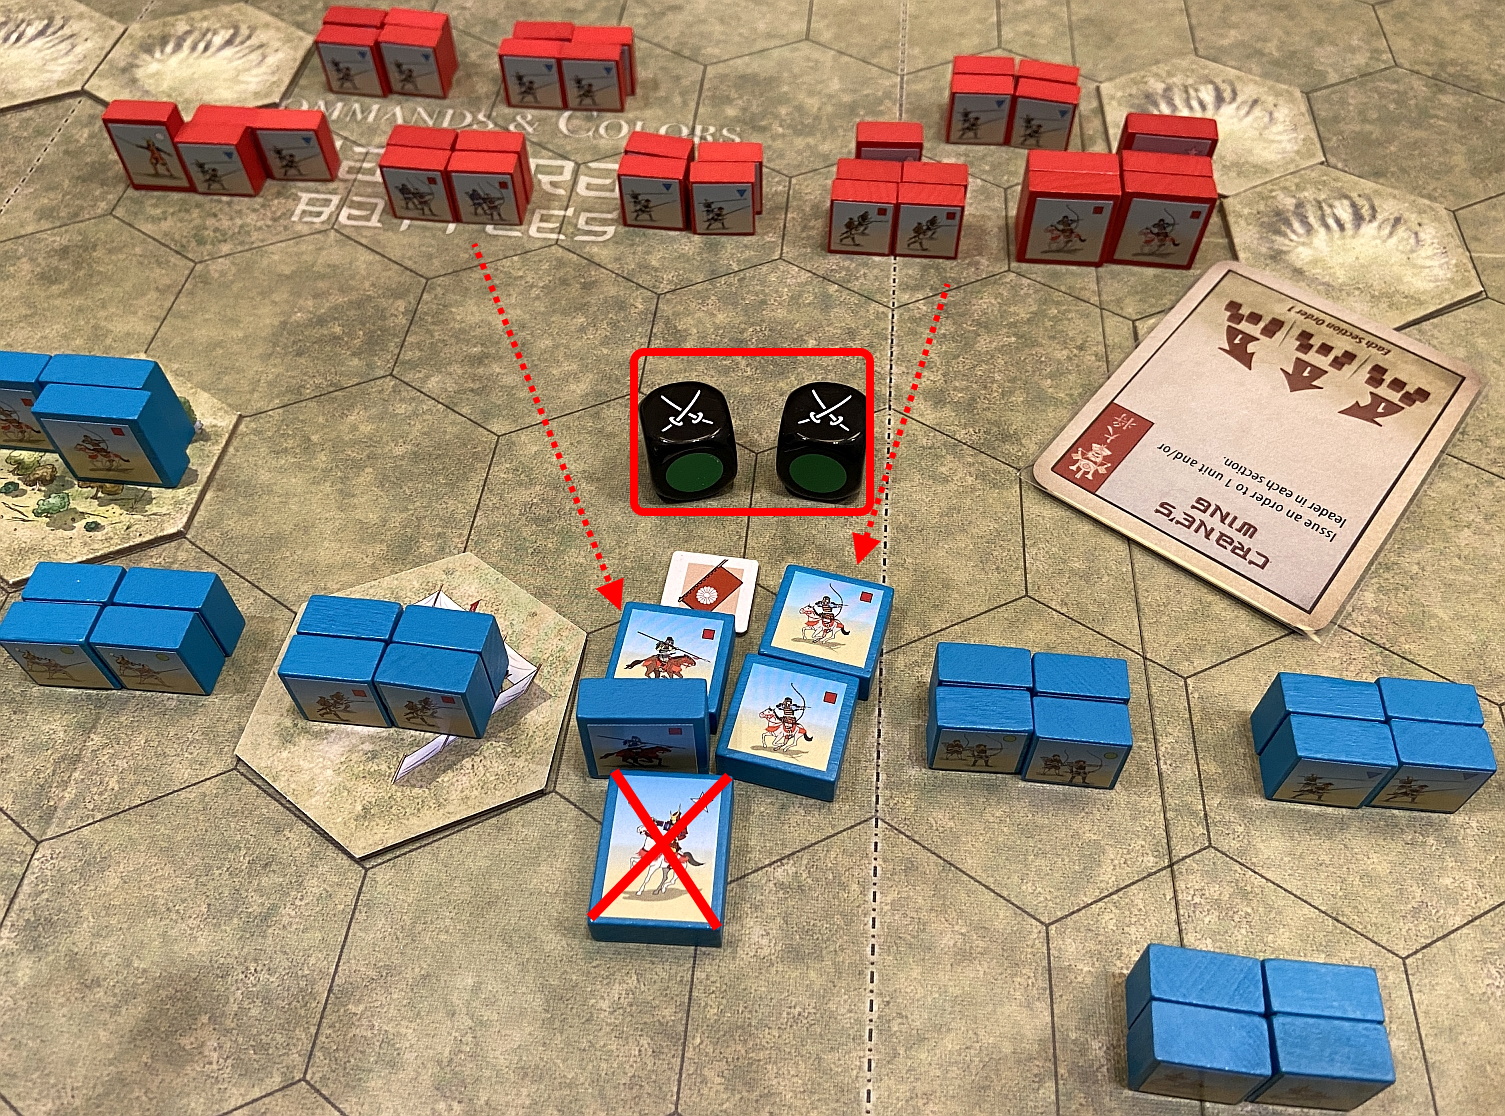
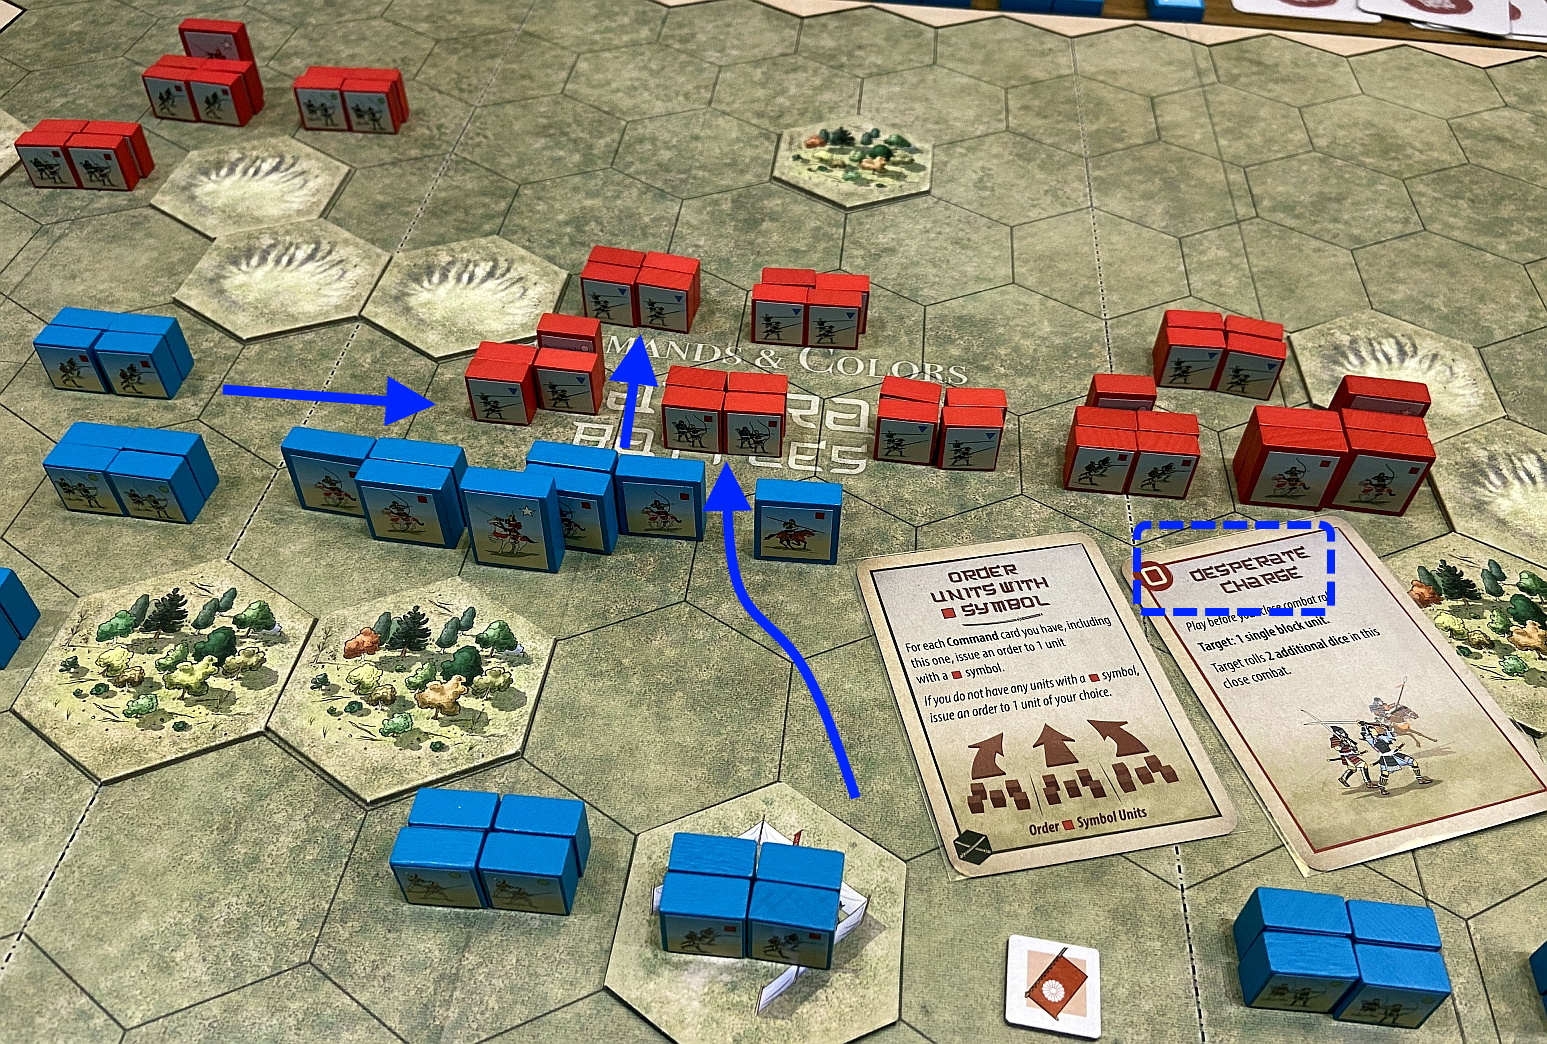

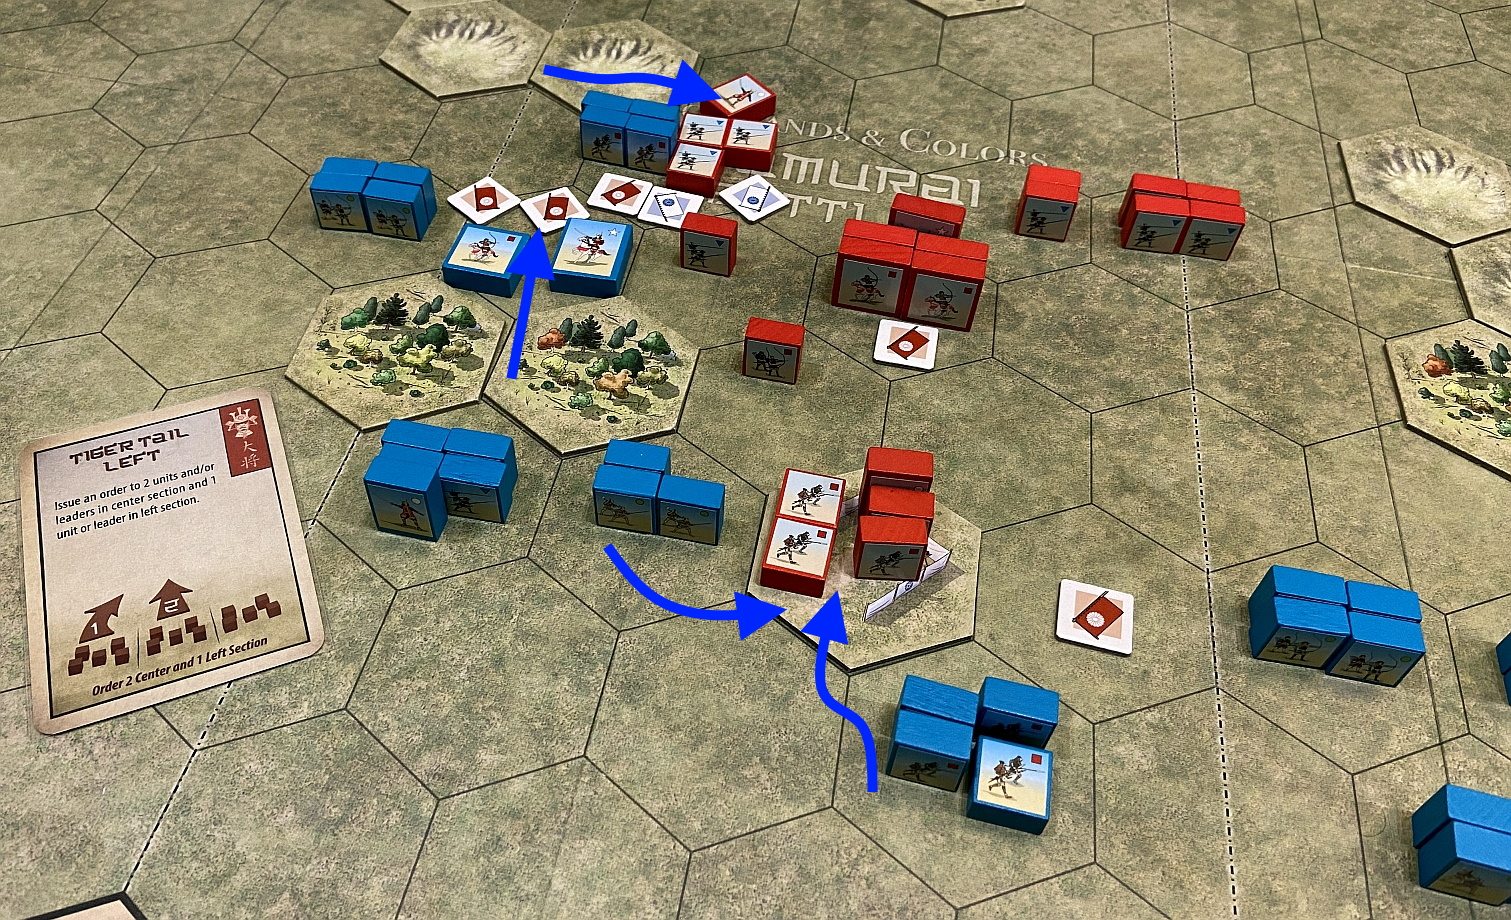
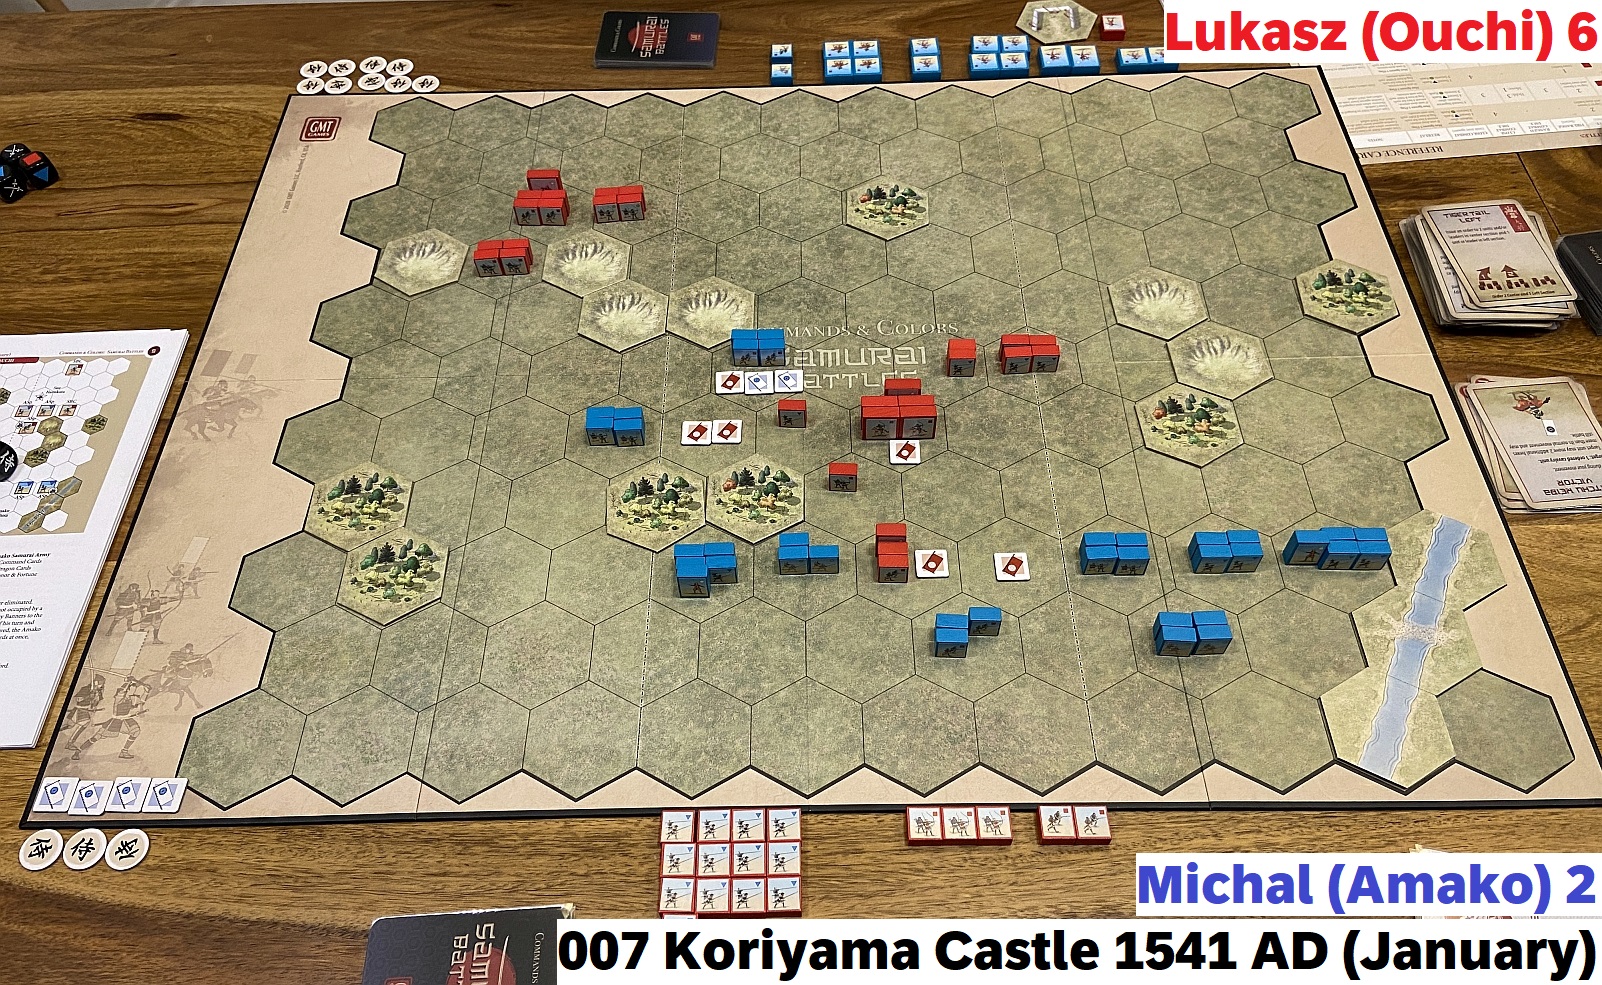
A bloody and chaotic affair ended in decisive Lukasz victory. My command tent was captured, main cavalry leader slain and most of the forces routed.
Summary
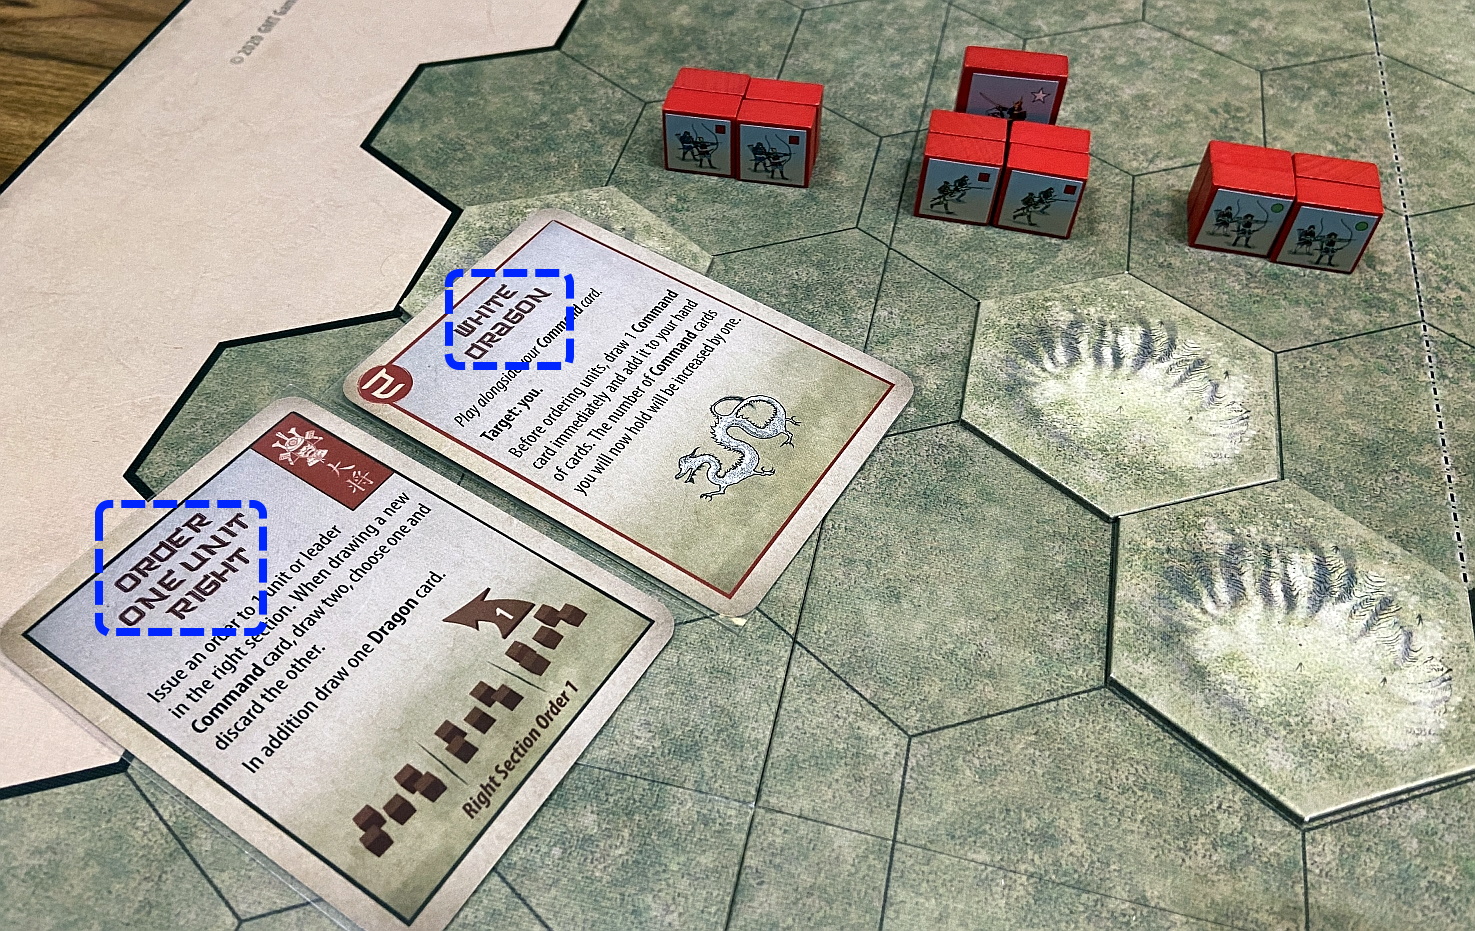
That was evening of decisive victories and crushing defeats. Sometimes pretty historical, sometimes completely surprising resolutions. I will not deny – that was fun, the battles were bloody and Dragon Cards were adding the so much needed variation and were spicing up the game.
The final score was a draw: Michal (Amako) 13 – Lukasz (Mori) 13, which seems pretty fair. Both sides had its moment of glory, both bloodied opponent – and themselves – significantly. That of course also means that invasion failed and Mori managed to repeal the attack.
More reports will come – stay tuned!

Author: The Boardgames Chronicle
