
With Commands & Colors: Samurai Battles recently unboxed and all the stickers already applied, it was just a matter of time before I brought that title to the table. I am going to present the session reports connected with the game in similarly way as I did for C&C Medieval and the Belisarius Campaign. You may expect the historical background to each battle and a picture-rich story for every engagement as well as interesting insights regarding the design mechanics. I hope you will find this installment of the Command & Colors series enjoyable!
The Game

Before we jump into the after action reports, here’s a little more about the game. The Commands & Colors: Samurai Battles game rules allow players to portray important engagements of Japanese history. The battles, included in the scenario booklet, focus on the historical deployment of forces and important terrain features in scale with the game system. The scale of the game is flexible and varies from battle to battle. For some scenarios, an infantry unit may represent an entire clan of soldiers, while in other scenarios a unit may represent just a few brave warriors.
The game follows the well-proven mechanics of Commands (cards driving the moves and creating Fog of War) and Colors (the units designation, having huge impact on battle). The dice allow us to quickly resolve all battles and the components in the box allow for creation of countless scenarios. In essence, Richard Borg at his best!
What I really like is grouping some of the scenarios into linked, chronological, and logically connected sets. This usually means some particular battle being separated into couple of phases. That process can be done based on timeline – as it will be in the below example – with battle interlude, main action, and final phase. But we shall also see the split based on troops location – like overview scenario, left flank, right flank, etc. I find both approaches enjoyable and allowing for much closer familiarization with the particular historical event.
Arita Castle 1517 (Phase 1 – Takeda Vanguard)
Historical Background
When the head of the Mori Clan died suddenly, Takeda Motoshige saw the opportunity to advance into Mori territory and capture Arita Castle. Provoked into action, Motonari, just a young man of 20 years, mobilized the Mori clan and set off towards Arita Castle. On the way, he and his personal retinue of mounted Samurai encountered the Takeda vanguard commanded by Kumagai Motonao. The two forces instead of closing, stood firm and engaged in a heated archery exchange. While encouraging his men, Motonao was struck down and the Takeda vanguard, seeing their leader fall, retired back to the castle.
Session Report
The occasion to play Samurai Battles was last weekend, when I had the possibility to finally meet with my youngest brother Jakub – as you might imagine, all those pandemic restrictions and the overall situation made it more difficult. Still, we were glad to put to the table two linked scenarios, which allowed us to really familiarize ourselves with the game and simply be fascinated by this title.
Arita Castle is a perfect set of scenarios to start your journey with Samurai Battles. The first one uses very few units, a limited number of types, and finishes after 3 victory banners. It gives a good introduction to the game mechanics. Let us see how it went – Jakub (Mori) vs me (Takeda).


Well, that was a rough beginning for my forces. After couple of card plays – including some interesting Dragon ones – I was obliterated within one turn. So we immediately prepared the second scenario in the series.
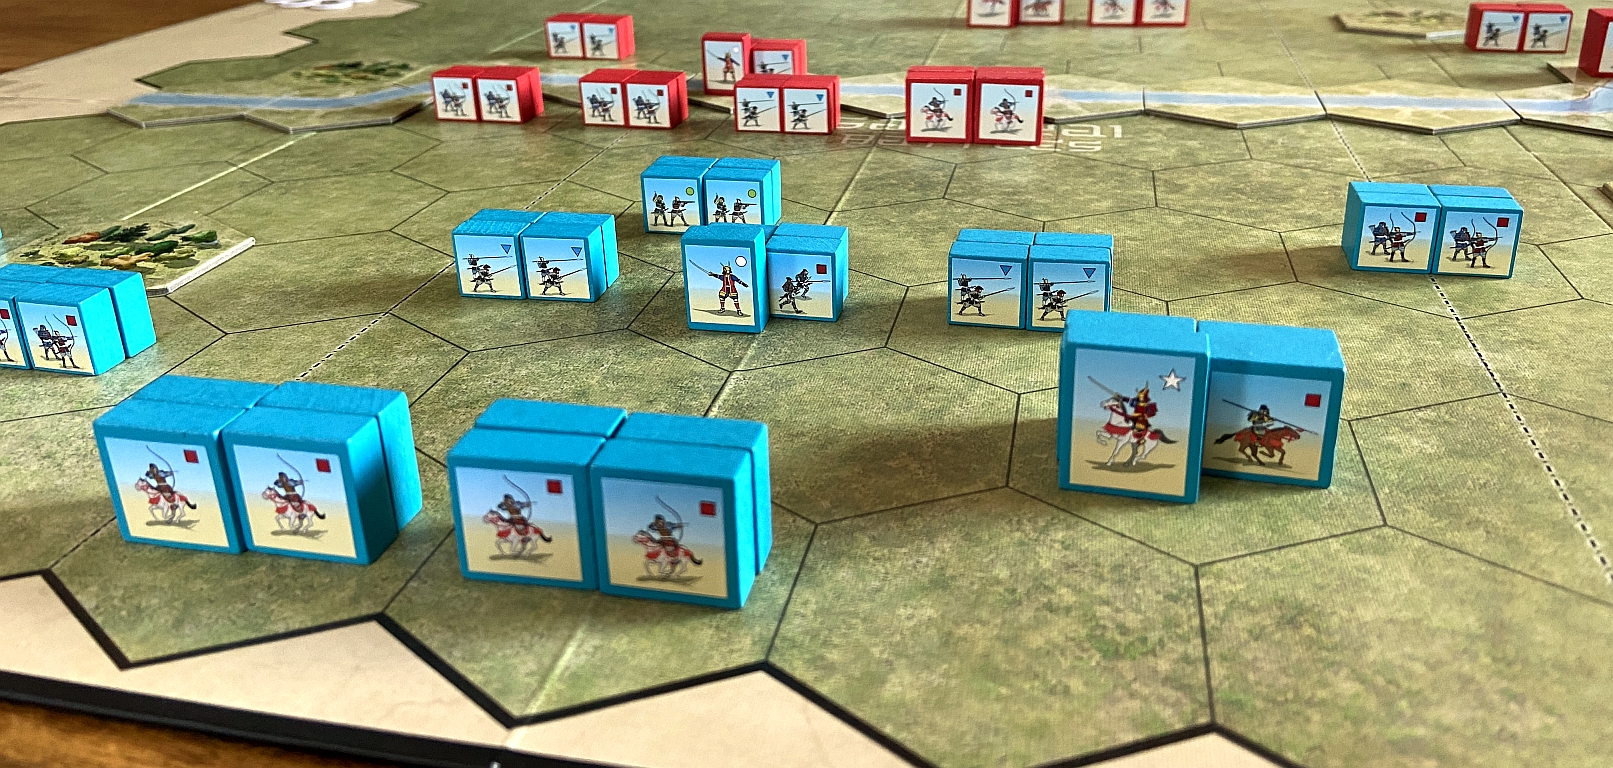
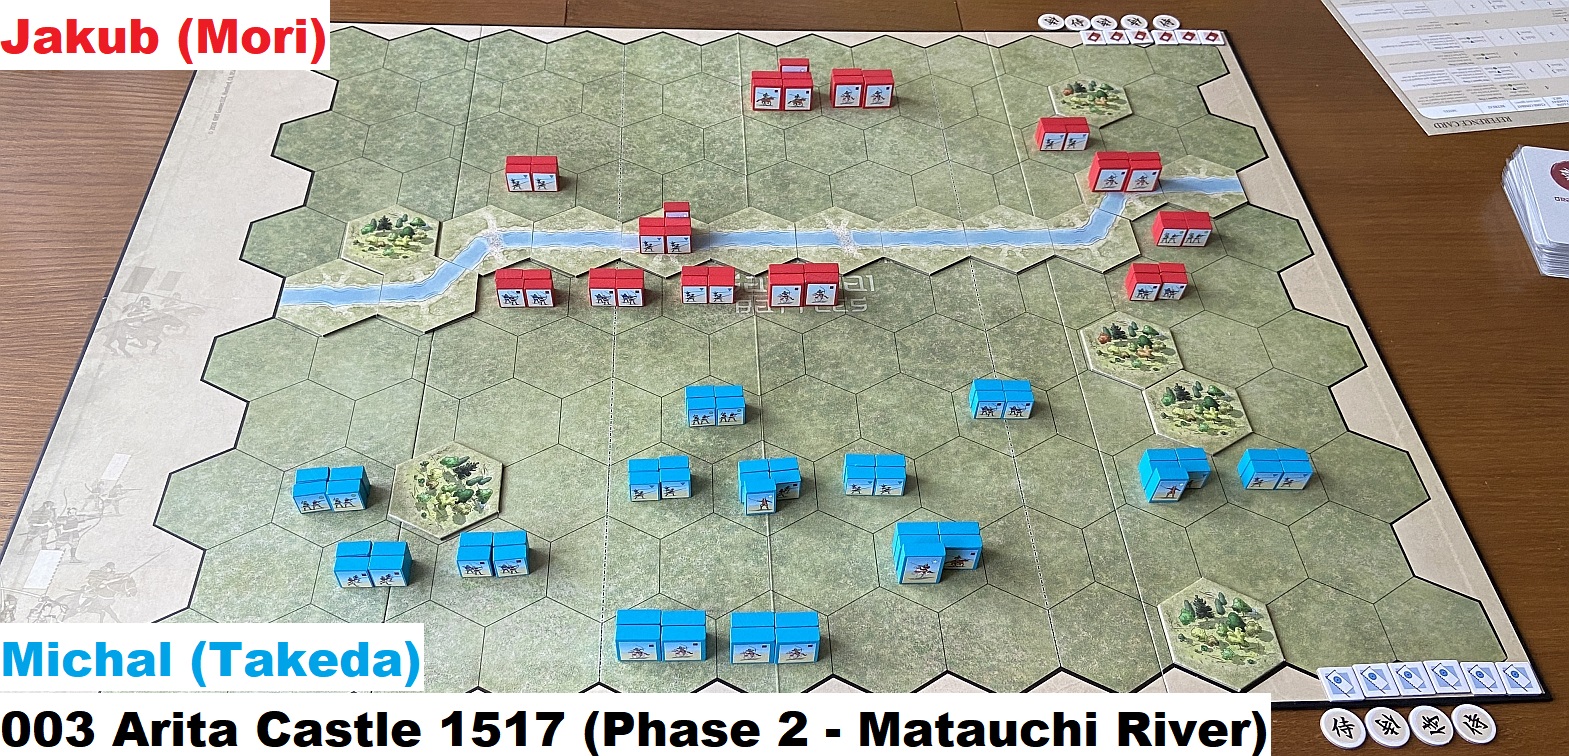
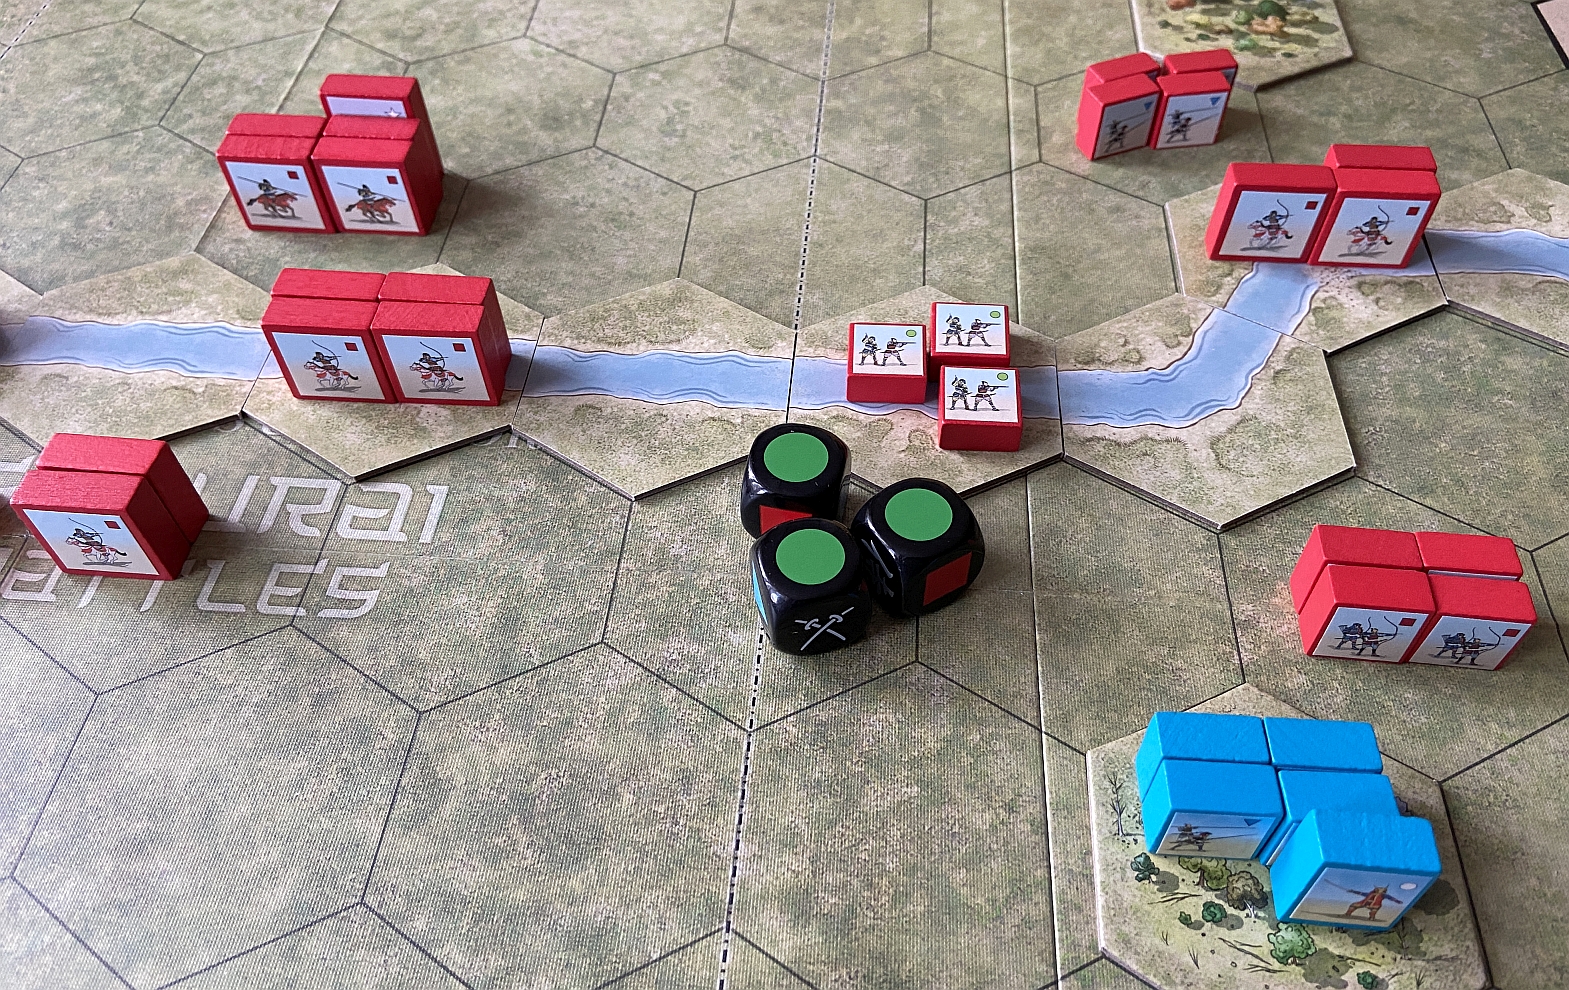
Arita Castle 1517 (Phase 2 – Matauchi River)
Historical Background
Takeda Motoshige, learning of the fate of Motonao, marched to the Matauchi River and found Motonari and his allies on the opposite bank. Although outnumbered, Motonari decided to attack and sent half his men across the river while a small force moved to outflank the Takeda position. The Takeda army quickly pushed the soldiers of Mori back to the river. Motoshige, seeing the Mori army retreating, wishing to make his victory complete, rode forward to the river, but was struck by an arrow and killed. The Takeda army broke, leaving Motonari the victor and paving the way for the rise of the Mori clan.
Session Report
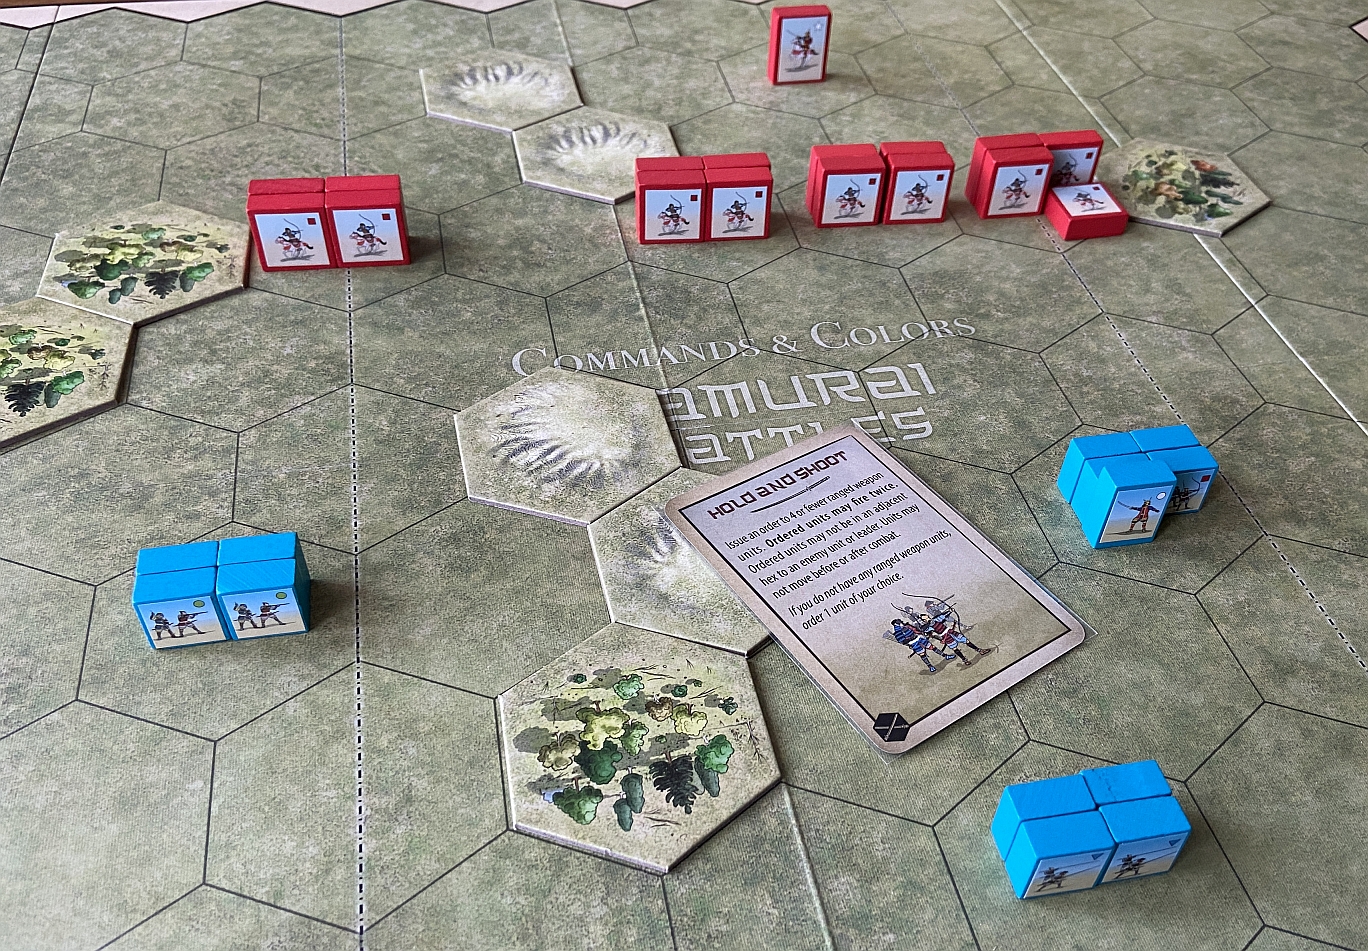
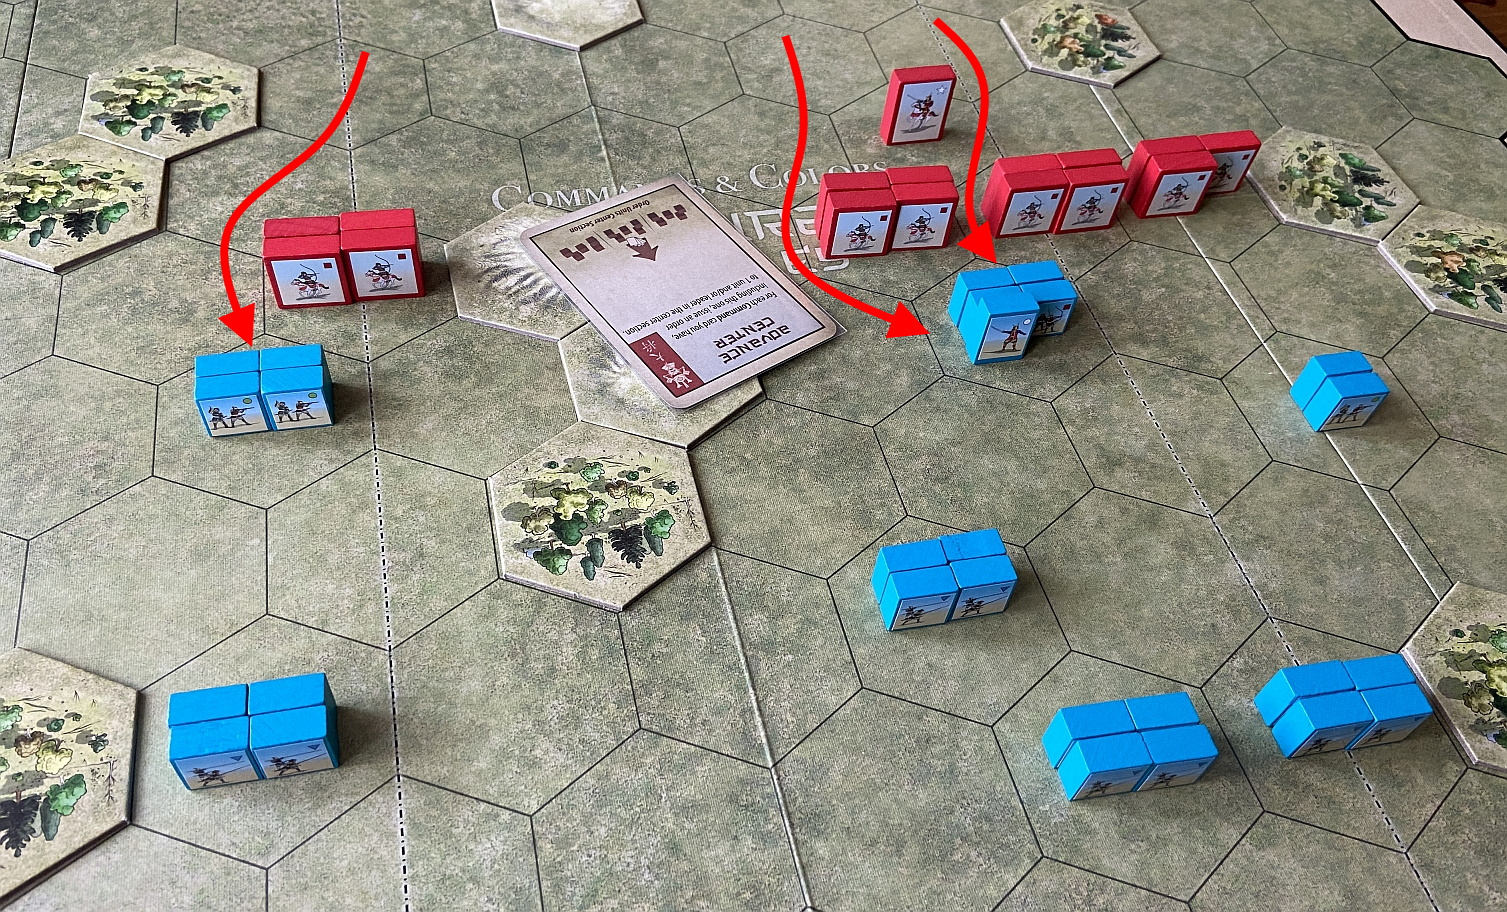
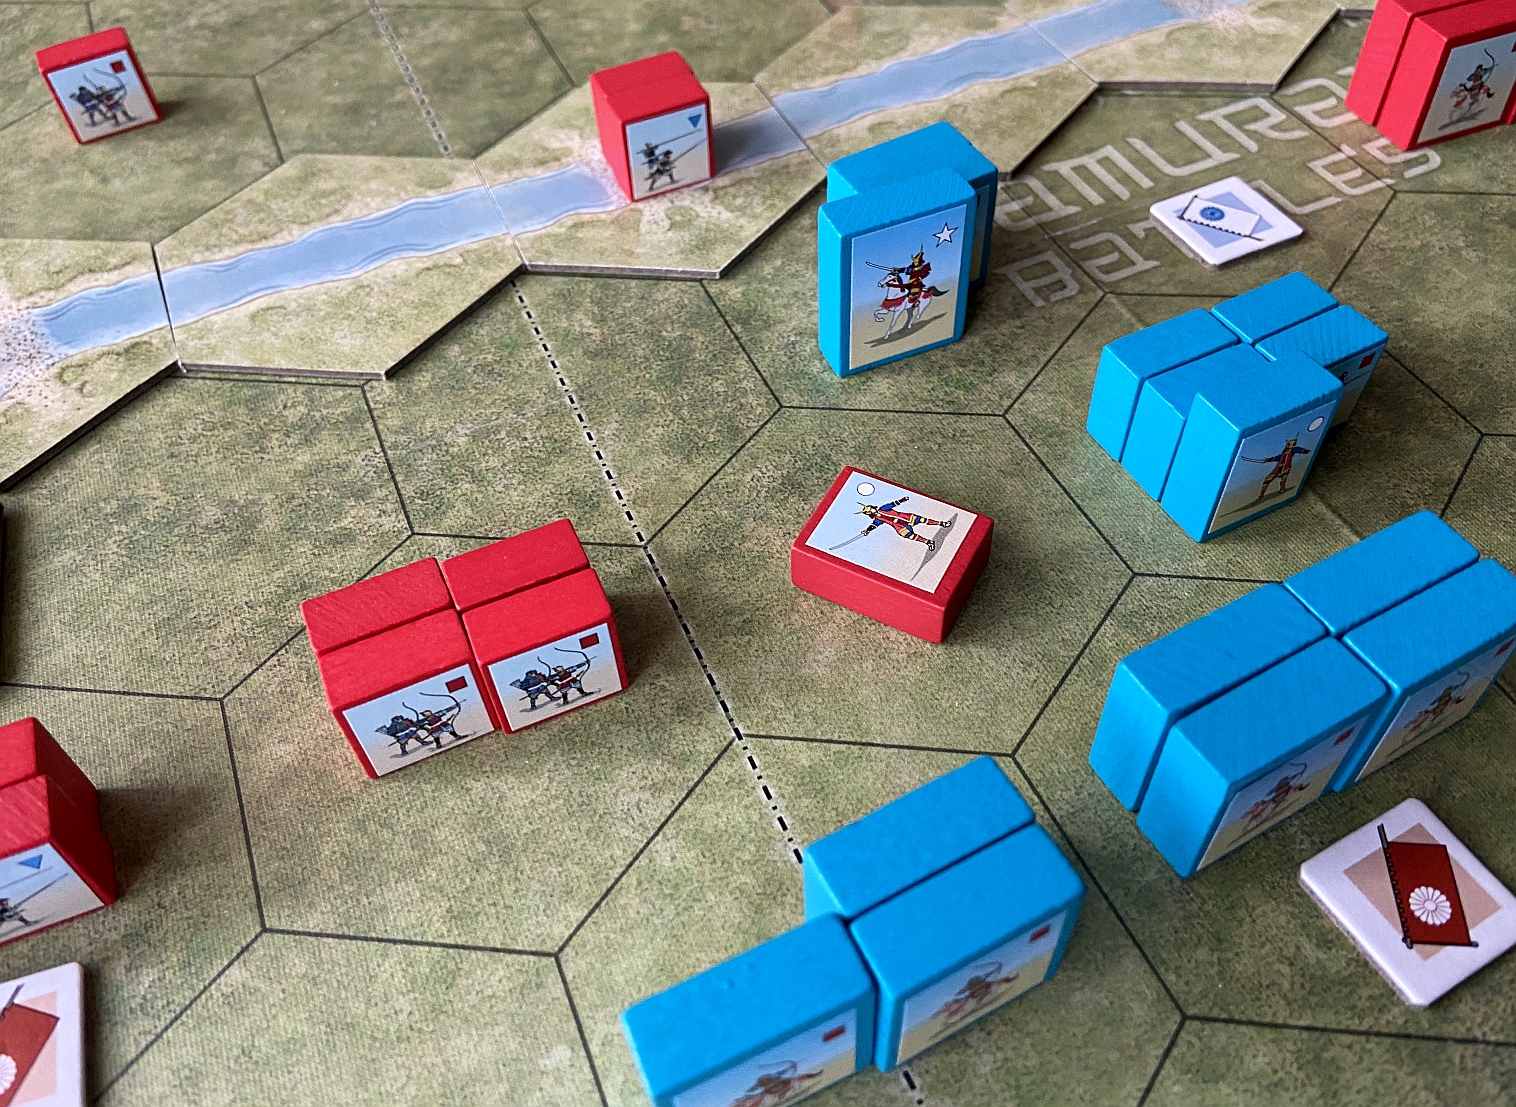
The second part of the Artita Castle battle features many more units and their types, but it is still a manageable complexity for the beginners. The set-up is pretty confrontational, with many units within attacking range of enemy. I hoped to get my revenge now – although I had less cards and my main leader again was worth 2 points to Mori. Let us see how it went!


Summary
Evidently, we finished our two introductory games pretty historically. Mori won twice. Check. Motonao and Motoshige (Takeda commanders) were dead. Check. The invasion was repelled. Check.
The final score: Jakub (Mori) 9 – Michal (Takeda) 2. That was a truly crushing defeat for me – evidently, I need to work on my tactics brought from Ancients & Medieval, as Samurai Battles is definitely more a game of attrition and honor rather then pure brutal force. ? It has a great flavor and theme and I will gladly continue the campaigns. And the byproduct of such a decisive Mori victory was my brother being so much hooked by the game – I could not wish for anything more!

Author: The Boardgames Chronicle
